Mastering the Art of Stovetop Popcorn: Your Ultimate Guide
There’s a unique satisfaction that comes from making popcorn on the stove. It's a simple culinary project that transforms a handful of humble kernels into a voluminous, warm, and utterly irresistible snack in mere minutes. Forget the pre-packaged microwave bags; once you experience the light, fluffy texture and customizable flavor of homemade stovetop popcorn, you’ll never look back. It’s a perfect treat for a cozy movie night, a quick afternoon pick-me-up, or even a healthier snack option, depending on your additions.
Making popcorn on the stove is not just easy; it’s a rewarding process deeply rooted in culinary history, tracing back to Native American cuisine. With a few basic tools and a little know-how, you can achieve a perfectly popped batch every single time. This guide will walk you through the foolproof method for making the best stovetop popcorn, addressing common questions and providing expert tips to ensure your kernels pop into golden perfection, never burned.
Why Stovetop Popcorn is a Game-Changer
Many people default to microwave popcorn for convenience, but the stovetop method offers significant advantages that make it worth the minimal extra effort:
* **Superior Taste and Texture:** Homemade stovetop popcorn boasts a fresher, more robust corn flavor and an undeniably satisfying crunch that microwave versions simply can't match. It’s lighter, fluffier, and truly addictive.
* **Healthier Option:** When made at home, you control every ingredient. You can choose high-quality oils, adjust salt levels, and avoid the artificial flavors, preservatives, and questionable chemicals often found in microwave popcorn bags. Popcorn kernels themselves are a whole grain and naturally high in fiber.
* **Speed and Simplicity:** Don't let the stovetop method intimidate you. From start to finish, a batch of homemade popcorn can be ready in less than 10 minutes – often under 5 – making it just as quick as, if not quicker than, many microwave options.
* **Cost-Effective:** Buying bulk kernels and a good cooking oil is far more economical in the long run than repeatedly purchasing pre-packaged popcorn.
* **Customization Galore:** The stovetop method opens up a world of seasoning possibilities, from classic butter and salt to gourmet spices, sweet drizzles, and savory blends.
Essential Gear & Ingredients for Perfect Popping
Achieving that perfect, fluffy batch of popcorn starts with having the right equipment and quality ingredients. This isn't just about what you use, but *why* certain choices make a difference.
The Right Pot:
Your choice of pot is more critical than you might think. Opt for a **sturdy, deep stainless steel pot with a tight-fitting lid**.
* **Size Matters:** An 8-quart pot is ideal for making a generous batch (about 4 servings), allowing enough space for the kernels to pop and expand without overflowing.
* **Material:** Stainless steel is preferred because it heats up quickly and evenly, which is crucial for rapid and consistent popping. Avoid overly heavy pots like Dutch ovens; while great for many dishes, their thick walls can take too long to heat, leading to uneven popping or scorched kernels.
* **Lid:** A transparent lid can be helpful for monitoring, but any tight-fitting lid will do to trap steam and heat.
Choosing Your Oil:
The best oils for stovetop popcorn are those with a **high smoke point**. This allows the oil to reach the necessary high temperature for popping without burning or imparting a bitter flavor.
* **Classic Choices:** Coconut oil (often used in movie theaters for its rich flavor and high smoke point) and canola oil are excellent, reliable options.
* **Other Good Alternatives:** Corn oil, avocado oil, and grapeseed oil also have high smoke points and work beautifully, offering a neutral or slightly nutty flavor profile.
* **Amount:** You’ll need just enough oil to lightly cover the bottom of your pan in a thin layer, typically 2-3 tablespoons for an 8-quart pot.
Quality Kernels:
Don't underestimate the power of good kernels!
* **Freshness:** Ensure your popcorn kernels are fresh and haven't been sitting in the pantry for years. Old kernels can result in a higher percentage of unpopped "old maids."
* **Storage:** Store kernels in an airtight container in a cool, dark place to maintain their freshness.
Seasoning:
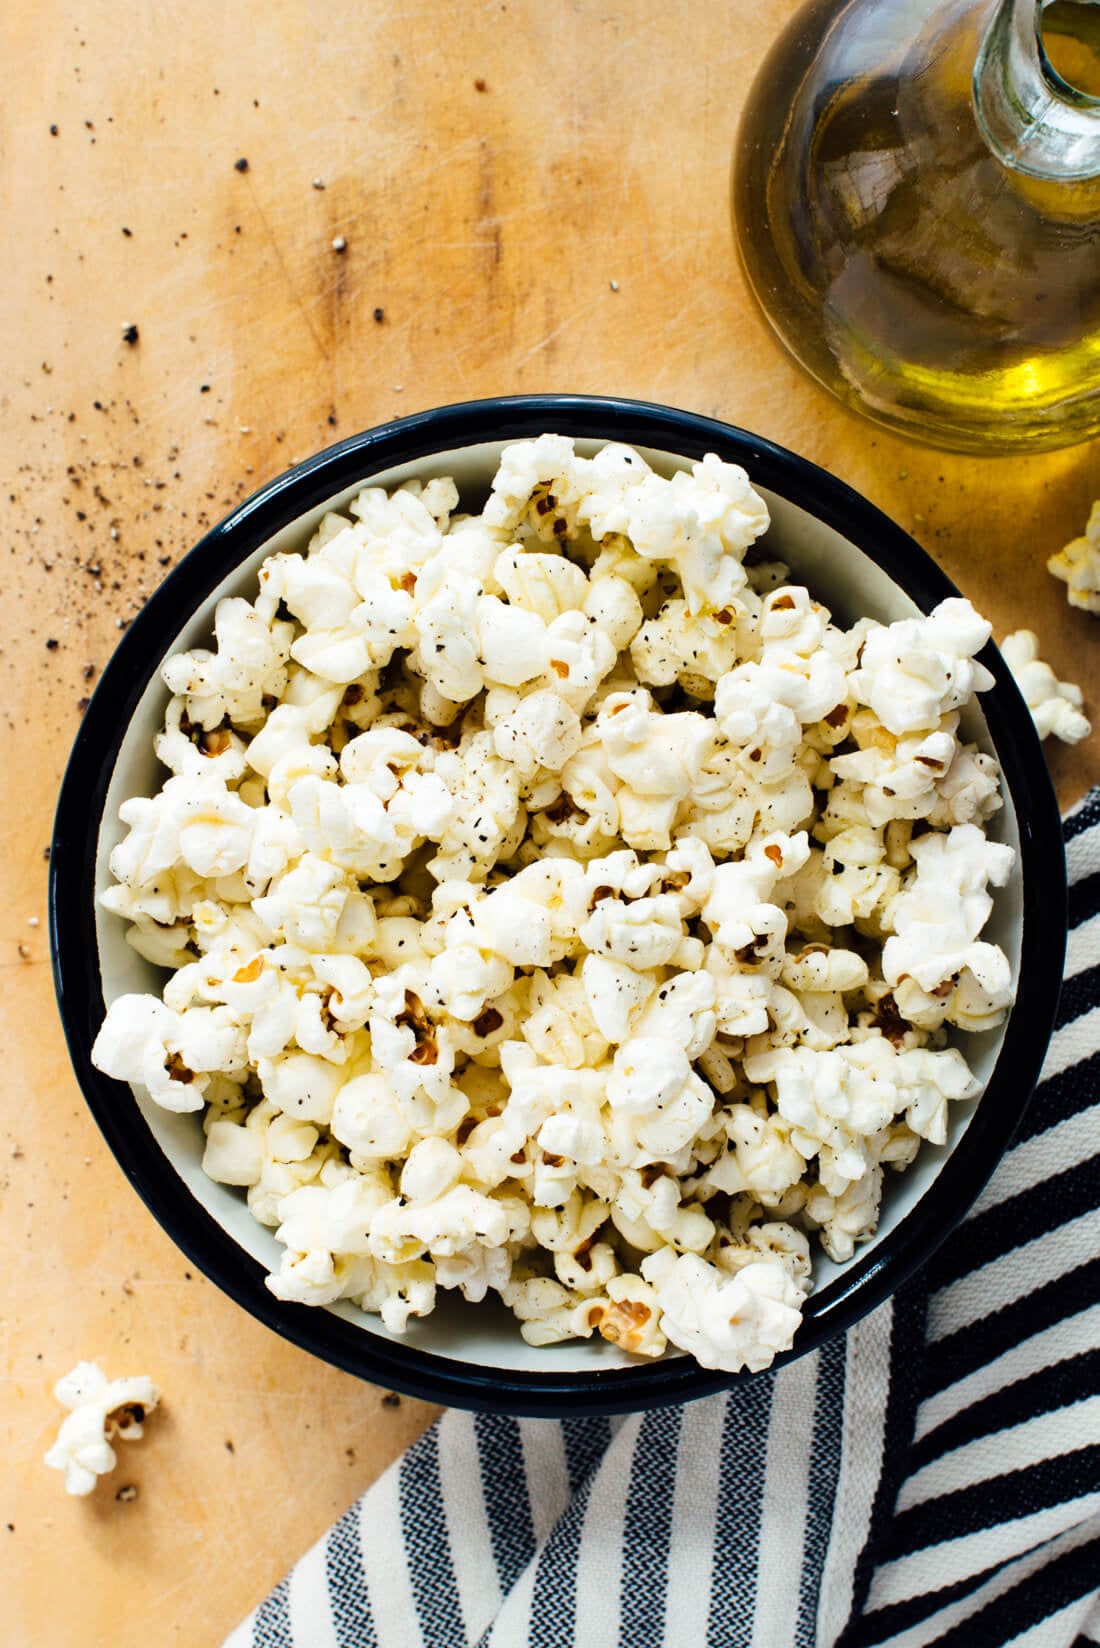
While butter and salt are traditional, having fine-grain salt on hand is key. It adheres better to the popcorn than coarse salt.
Step-by-Step Guide: How to Make Stovetop Popcorn Like a Pro
Ready to elevate your snack game? Follow these simple steps for a truly foolproof batch of stovetop popcorn.
Step 1: Prepare Your Pot and Heat the Oil
Place your large, sturdy stainless steel pot (e.g., 8-quart) over **high heat**. Add your chosen oil, ensuring it just covers the bottom of the pan. Heat the oil until it’s **rippling but not smoking**. This is a crucial distinction – smoking oil means it’s too hot and will likely burn your popcorn.
Step 2: The Test Kernels (A Pro Tip!)
To perfectly gauge when your oil is ready, add just **2-3 popcorn kernels** to the hot oil. Cover the pot. Once these test kernels pop, you know the oil has reached the ideal temperature for popping. Remove the test kernels if you wish, or leave them in.
Step 3: Add the Main Batch of Kernels
Immediately remove the lid and add your remaining popcorn kernels (typically ½ cup for an 8-quart pot). Give the pot a gentle shake to ensure the kernels form a single layer on the bottom. Quickly place the lid back on and **immediately reduce the heat to medium**. This rapid initial heat followed by a reduction helps ensure even popping and prevents burning.
Step 4: The Popping & Listening Game
Once the kernels start popping, here’s where a little engagement helps:
* **Shake Occasionally:** Every 15-30 seconds, gently shake the pan back and forth or in a circular motion. This helps prevent kernels from scorching on the bottom and allows unpopped kernels to find their way to the hot oil.
* **Listen Closely:** The popping should be rapid-fire and continuous, forming one long, satisfying burst. This is your cue to pay attention.
* **Know When to Stop:** As soon as the popping slows to just a few kernels every couple of seconds (typically 2-3 seconds between pops), **immediately turn off the heat**. Don't wait for all the popping to stop completely, as residual heat will continue to cook the popcorn, and waiting too long is the number one cause of burned popcorn.
Step 5: Season Immediately for Optimal Flavor
This is where the magic happens! Remove the lid as soon as you turn off the heat.
* **Salt in Layers:** Generously salt the top layer of popcorn. Then, tap the pot on the stove or gently shake it to help distribute the salt downwards.
* **Two-Stage Seasoning:** Pour about half of the popcorn into your serving bowl. Salt the remaining popcorn in the pot again, tap, and then add it to the serving bowl with the rest. This layering technique ensures every piece is evenly seasoned.
* **Beyond Salt:** Now is the time to add melted butter (if desired), nutritional yeast for a cheesy flavor, garlic powder, chili powder, or any other seasonings you love!
Troubleshooting & Pro Tips for Foolproof Popcorn
Even with the best intentions, a batch can sometimes go awry. Here’s how to troubleshoot common issues and some extra tips for perfection:
* **Preventing Burned Popcorn:** The most common culprit is leaving the popcorn on the heat for too long after popping slows. Trust your ears! If you find kernels burning despite following the steps, your initial heat might be too high, or your oil's smoke point isn't adequate. You can find more specific advice on avoiding burnt popcorn in
how to make stovetop popcorn - Article 2.
* **Too Many Unpopped Kernels ("Old Maids"):** This often means your oil wasn't hot enough when the kernels were added, or the heat was too low during popping. Ensure your oil is shimmering and use the test kernel method. Old or low-quality kernels can also be a factor.
* **Achieving Even Seasoning:** As mentioned, immediate seasoning and the two-stage salting method are key. If using butter, melt it and drizzle it over the popcorn while shaking to coat evenly.
* **Flavor Boosters:**
* **Buttery Richness:** For true movie-theater flavor, clarified butter (ghee) or a high-quality butter-flavored coconut oil works wonders.
* **Savory:** Try a sprinkle of Parmesan cheese, smoked paprika, garlic powder, onion powder, or even a dash of hot sauce.
* **Sweet & Salty:** A light sprinkle of cinnamon sugar or a drizzle of caramel can transform your snack.
* **Don't Overcrowd:** A single layer of kernels is crucial. Overcrowding the pot can lead to uneven popping and more unpopped kernels.
* **Shake it Right:** The shaking motion isn't just to prevent burning; it helps distribute the heat and allows unpopped kernels to fall to the bottom where the oil is hottest.
* **Listen for Trouble:** If kernels are popping slowly, only a few at a time for an extended period, or if you smell a faint burning, don't hesitate to check quickly (lifting the lid for a second) or even restart if necessary. It’s always better to redo a batch than to end up with burnt popcorn! For more advanced techniques and common mistakes to avoid, check out
how to make stovetop popcorn - Article 3.
Making popcorn on the stove is a delightful and surprisingly simple pleasure that yields superior results to its microwave counterpart. With the right pot, oil, and a keen ear for the rhythm of popping, you’ll soon be a stovetop popcorn connoisseur, delighting yourself and your loved ones with batches of perfectly light, fluffy, and flavorful homemade popcorn every time. Enjoy your delicious, crunchy creation!